Named Entity Recognition (NER)
Named Entity Recognition (NER) is the task of identifying and categorizing or labelling key information (also called enitities) in a block of text document. Tensoract Studio provides a number of valuable features and settings to make NER tasks highly effective.
To get started, refer below for a quick overview of the NER project creation process.
For details about the project creation process, refer to Getting Started.
Labels and Relationship
Pre-Labeling Model
To utilize a custom pre-labeling model in a project, it must be registered within the Tensoract Studio prior to usage. Refer to Model Integration for more details.
Registered models are visible in the Pre-Labeling Model and Auto Labeling Models drop-down menus.
Select one or more custom model(s) from the Pre-Labeling drop-down.
Once the model is selected, label classes can be mapped from model to the project. This mapping ensures that the corresponding annotations will be available within the tasks.
Auto Labeling Models
You can also optionally select one or more Auto Labeling Models to enable assistive labeling in the task.
Once the model is selected, label classes can be mapped from the model to the project. This mapping ensures that the appropriate annotations are available within the task.
Set the labels for Bounding Boxes
Advanced Settings
The Advanced Settings section sets the behavior of the task workflow in the current project.
Project Attributes
The following Project Attribute settings are available for configuration:
Allow Text Mode
Enable/disable icon to highlight text in a document.
If Text option is checked, then default text mode is enabled in the task.
If Labels is checked, then default labels are displayed in the task.
If Relationships is checked, then default relationships are displayed in the task.
Disable Tag Overlap
You can choose to either permit (when not selected) or prevent (when selected) overlapping annotations in the document.
Allow Bounding Box Rotation
Enables the ability to rotate the bounding box to match the text orientation.
Break text files in Pages
If selected, it allows to split the large text file into multiple pages.
Words per page (text files)
This option is available only when the Break text files in Pages option is enabled. The text files are split into pages based on the number of selected words.
Annotation Format
There are two options for the annotation formats in the NER project.
ADL Default - The exported project manifest has the offset range that is limited to single page.
Absolute entity offset - The exported project manifest has the offset range continuing for all pages.
Annotator View
Shortcut Keys
The following shortcut keys serve as helpful references for annotators and reviewers during the task annotation process.
Keys |
Use |
|---|---|
Ctrl + F or F3 |
Find Text |
Ctrl + G |
Find Next |
Ctrl + ] |
Move to next entity |
Ctrl + [ |
Move to previous entity |
Ctrl + } |
Move to next entity of same type |
Ctrl + { |
Move to previous entity of same type |
Ctrl + Arrow Right |
Move to next page |
Ctrl + Arrow Left |
Move to previous page |
Ctrl + |
Zoom In |
Ctrl - |
Zoom Out |
Ctrl + 0 |
Zoom Reset |
Alt |
Hide Annotations, Label popup, Relationship |
Shift + Text Select |
Hide previous annotations for inner seletions |
Ctrl + Text Select |
Select exact text (don’t expand) |
Alt + Entity Select |
Enable Entity Comment |
Delete |
Delete selected entity/relationship/box |
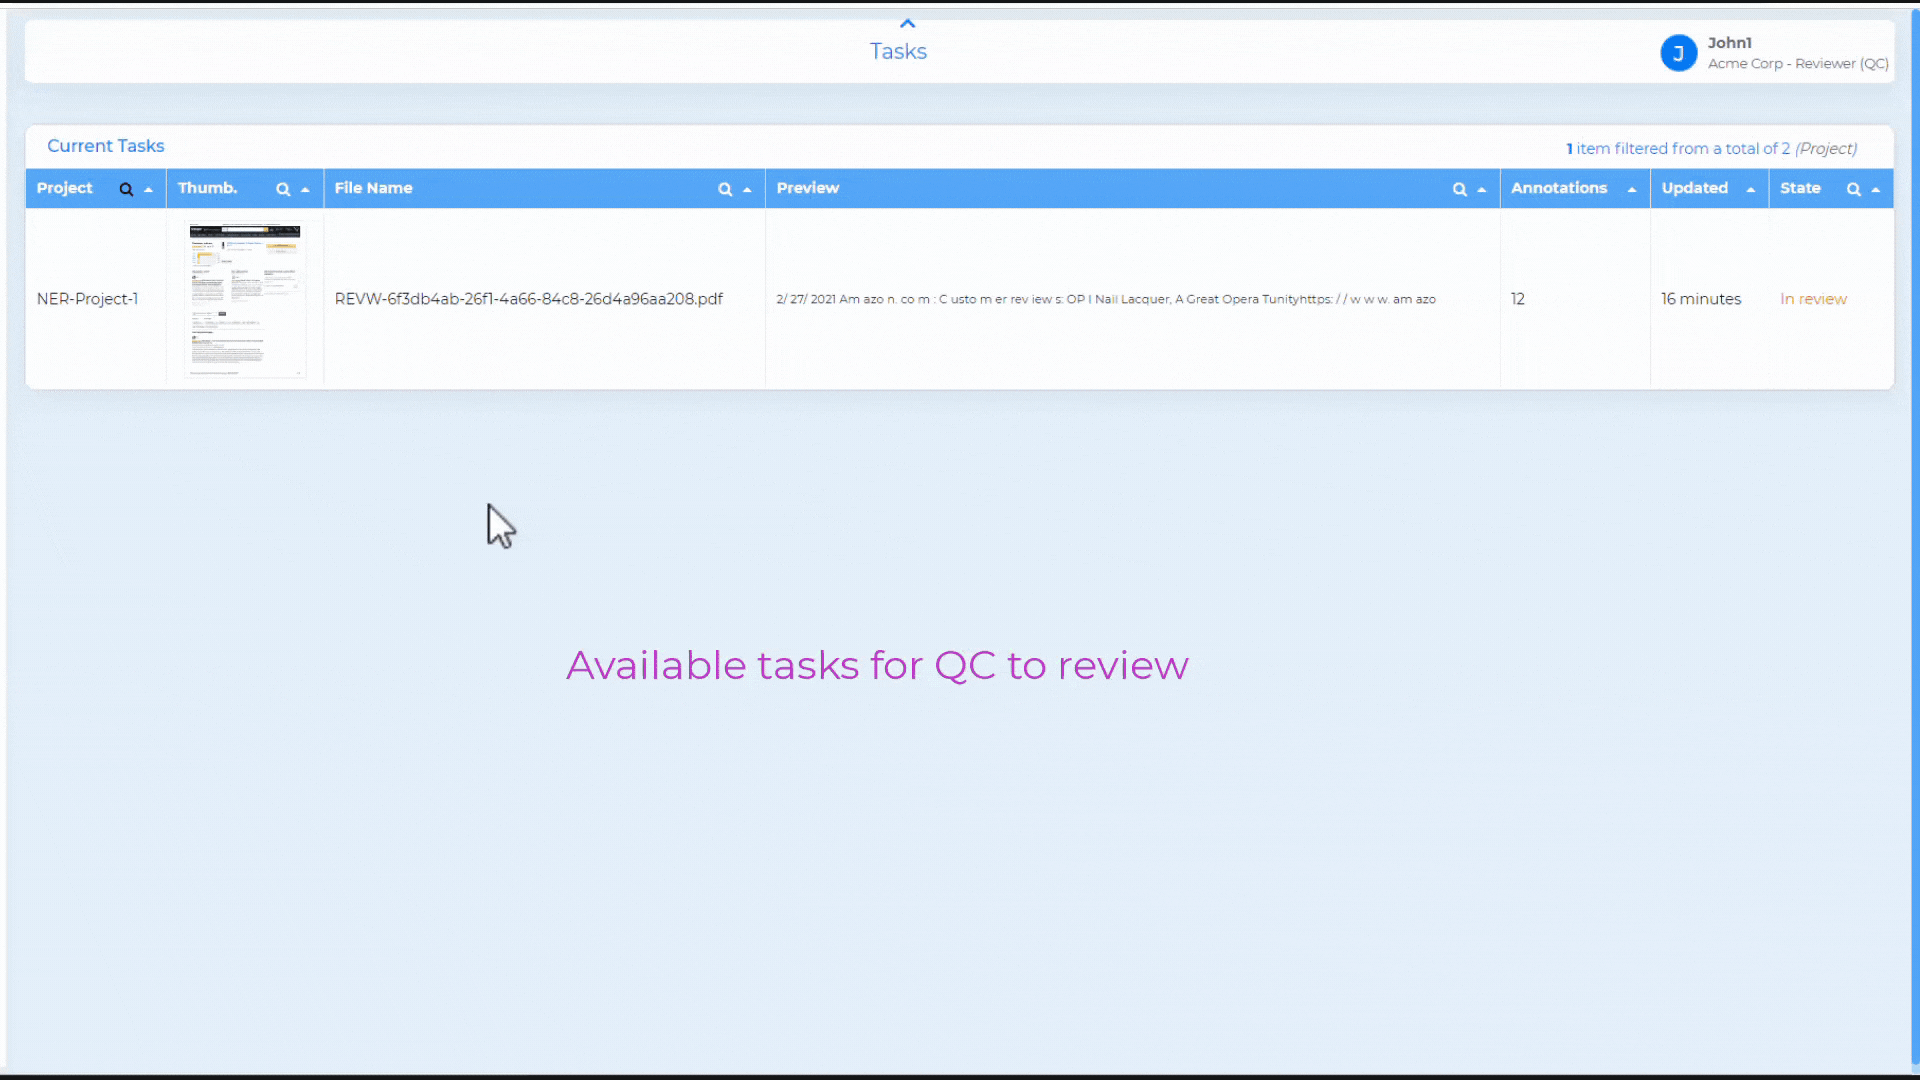
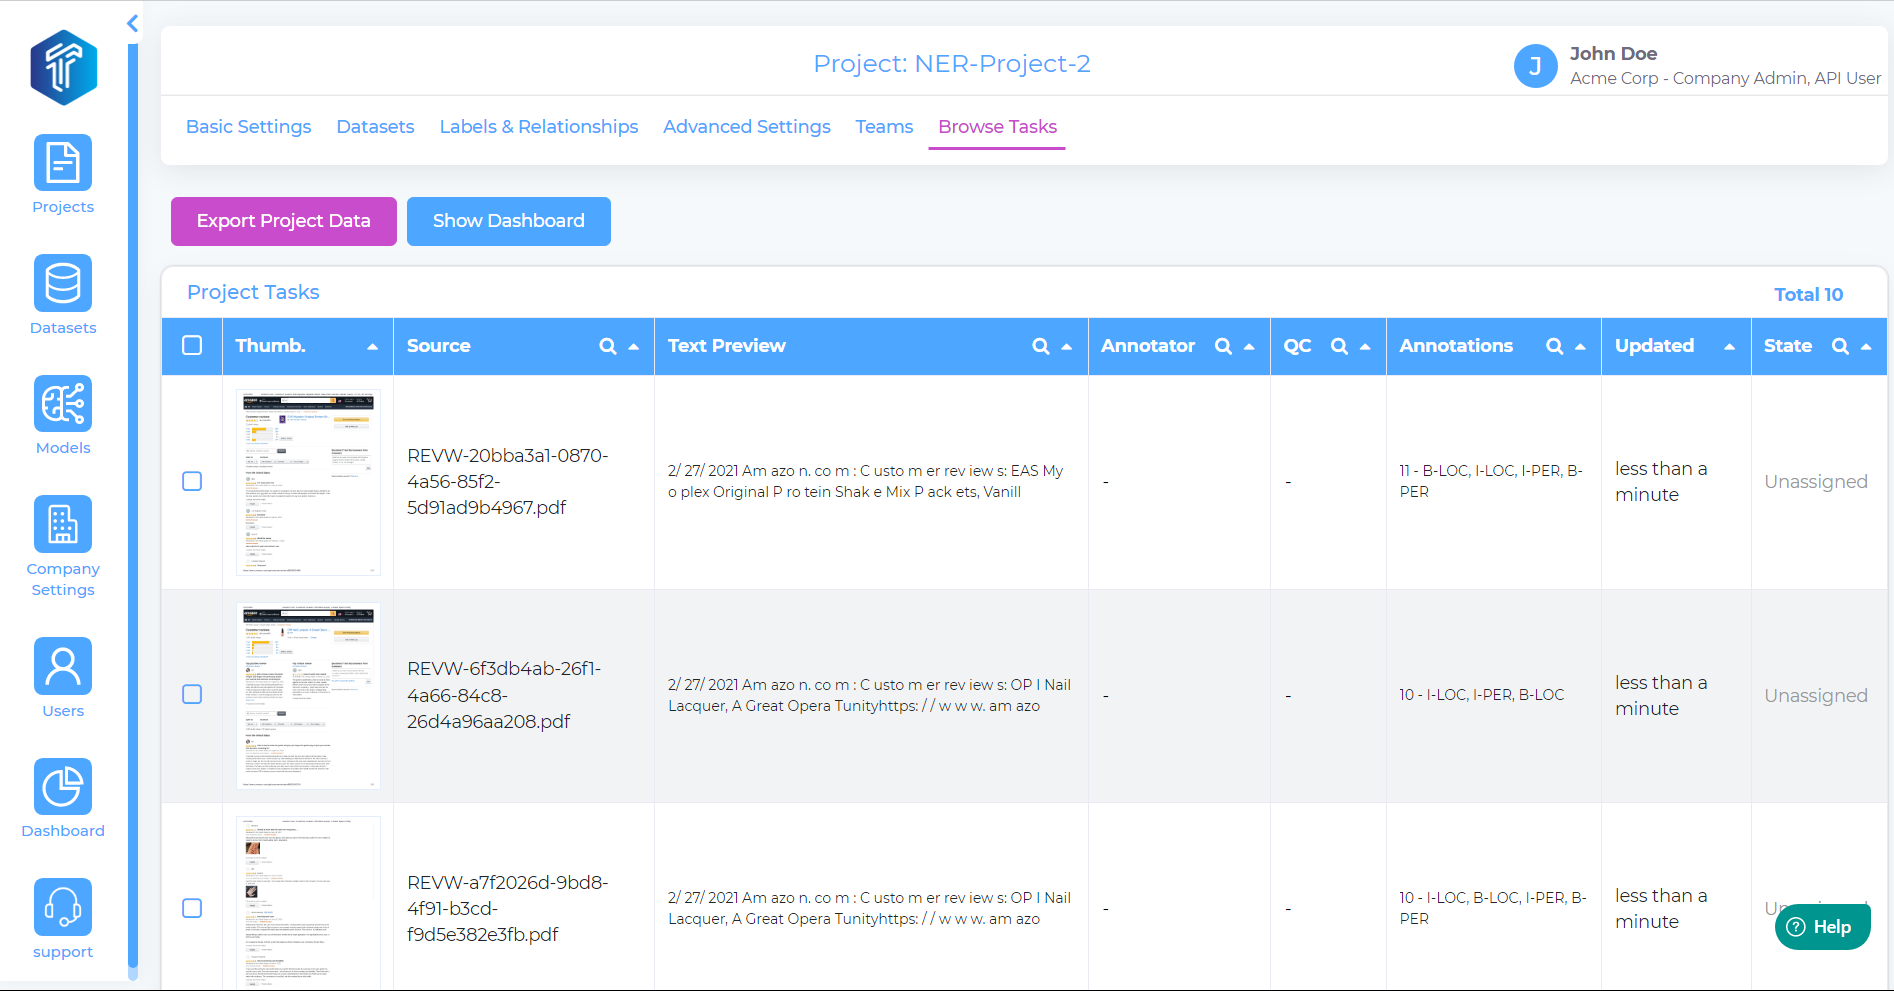
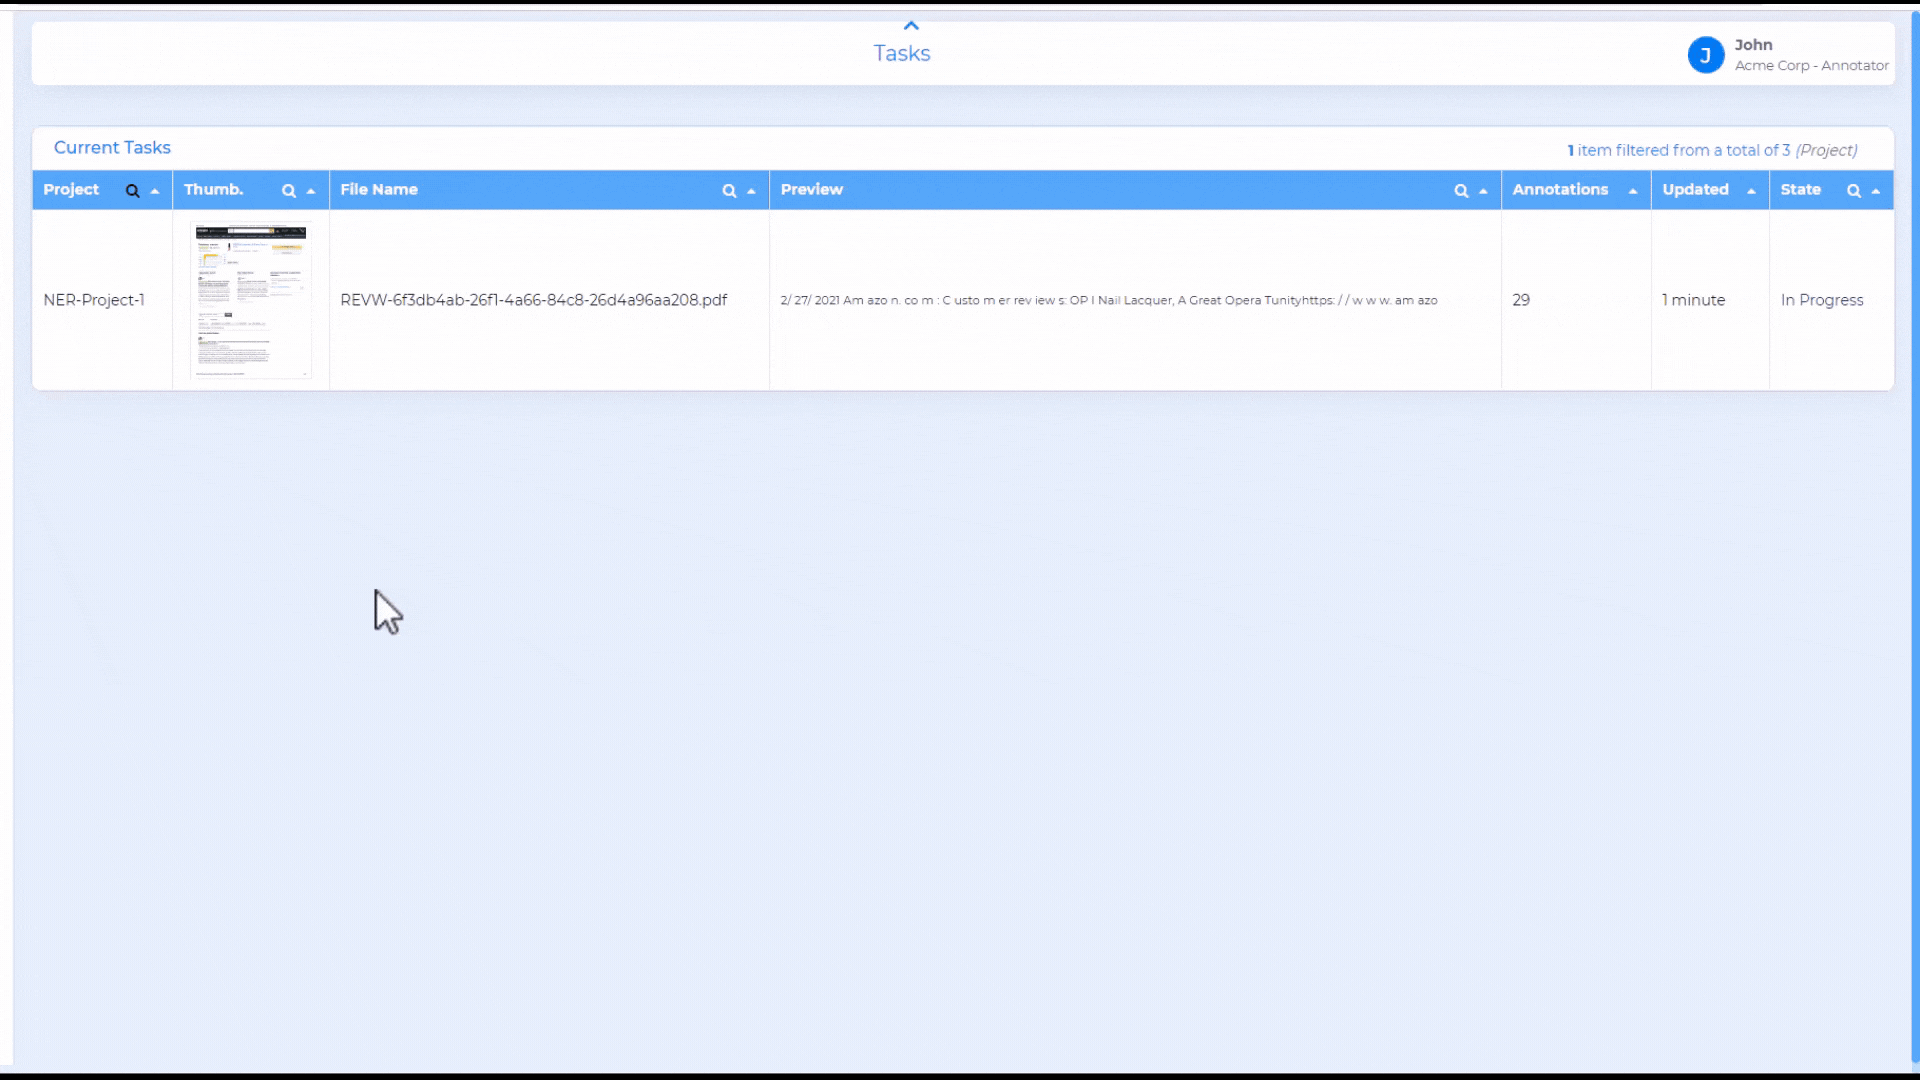
Once logged into the studio, the annotator is presented with the task queue, which includes a list of tasks available for them to work on. Annotators can also view tasks that are prelabeled.
Watch the following video to get a feel of the annotator view.
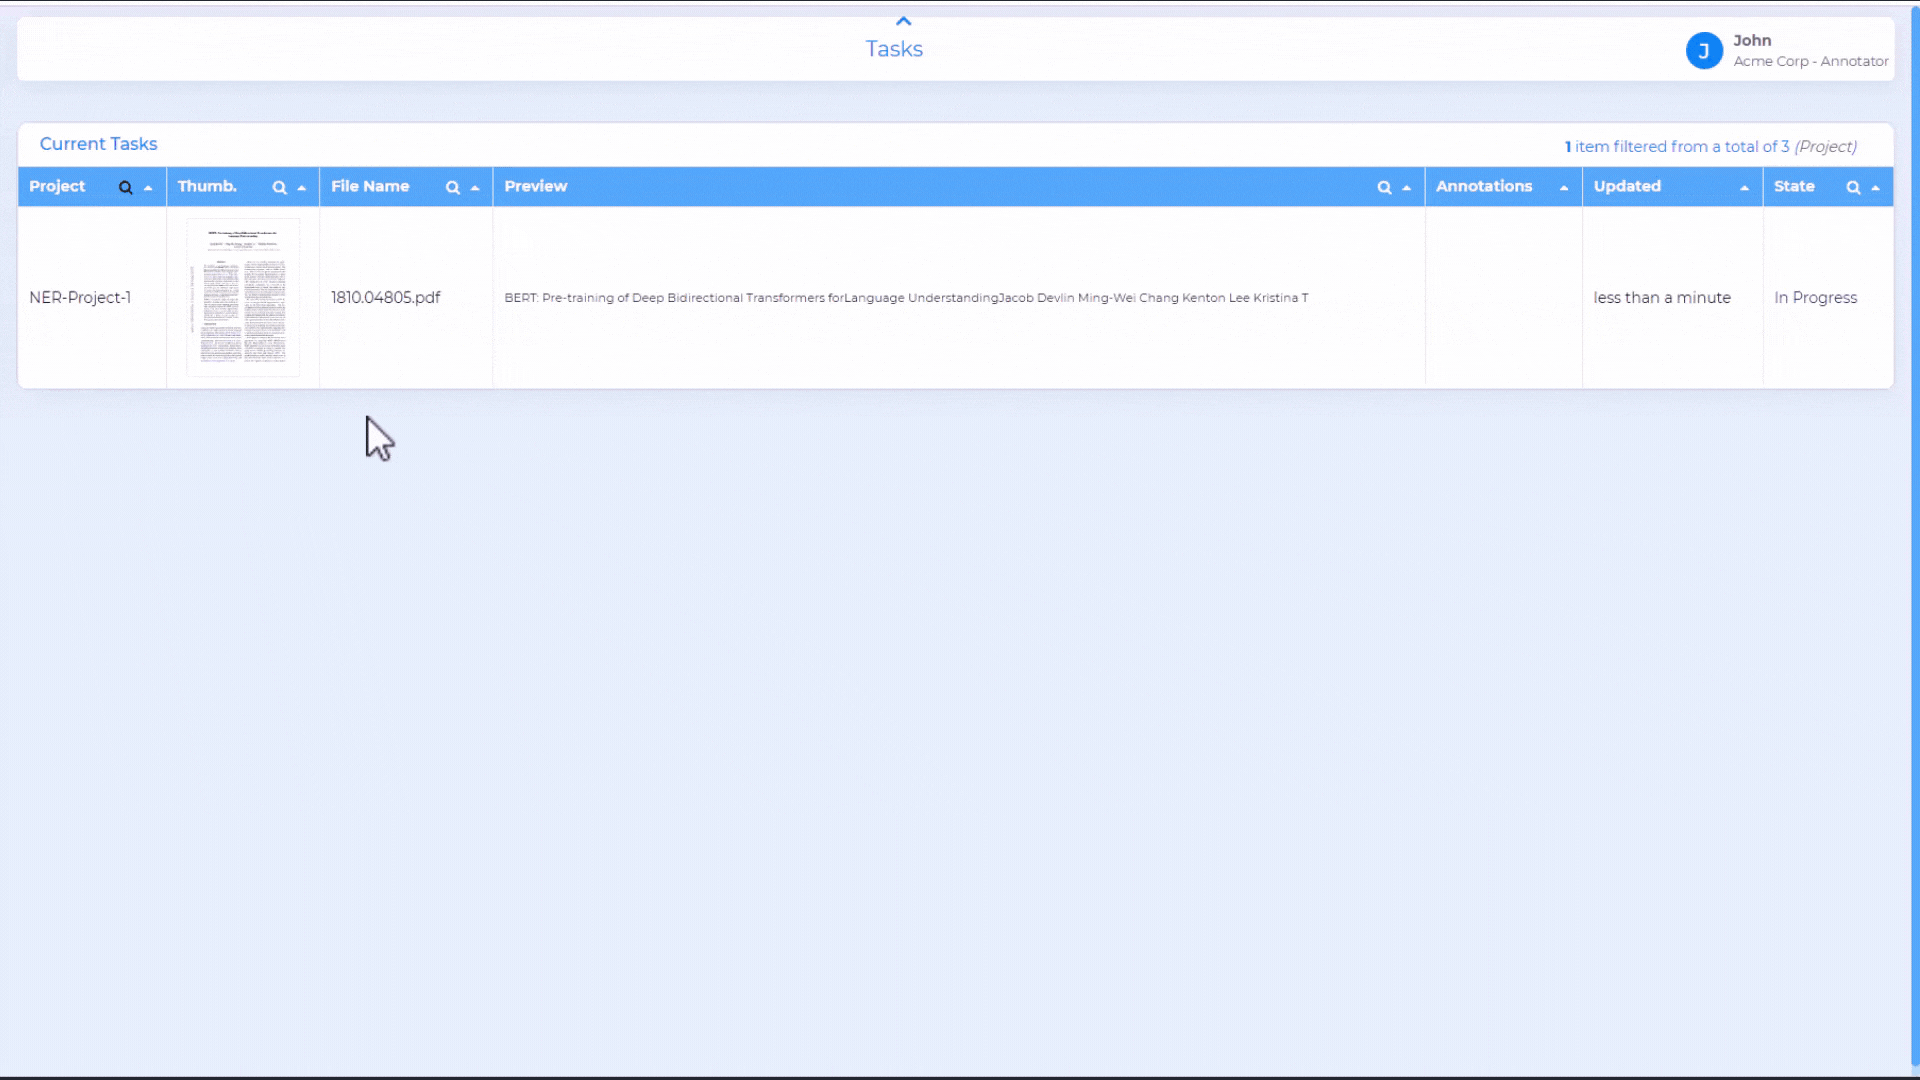
If the project has pre-Labeling and auto-labeling enabled, the task will be initially pre-labeled by the model. The annotator can then make adjustments as necessary, including requesting auto-labeling on demand.
Reviewer View
The reviewers have the authority to approve, reject, or request adjustments from the annotator for a given task. Watch the following video to get a better understanding of the QC/Reviewer view.